I still remember the day I first stumbled upon Canva – I was trying to create a simple social media graphic for a friend’s business, but I had no design experience whatsoever. I was struggling to use Adobe Photoshop, and that’s when I found Canva. It was like a breath of fresh air – so easy to use, yet powerful enough to create stunning visuals. Don’t worry if this sounds confusing at first, I’ll walk you through everything I’ve learned.
Getting Started with Canva
So, what is Canva exactly? Think of it like a graphic design platform that’s specifically designed for non-designers. It’s got a super intuitive interface, and it’s free to use, which is awesome. When you first sign up, you’ll be asked to choose what kind of design you want to create – this could be anything from a social media post to a presentation or even a website.
Once you’ve chosen your design type, you'll be taken to the editor, which is where the magic happens. The editor is divided into different sections – you’ve got your templates on the left, your design elements in the middle, and your toolbar on the top. Don’t worry too much about all the different options at first, just play around and see what happens when you click on things.
One of the things I love about Canva is that it’s got a huge library of templates and design elements that you can use to get started. These templates are all customizable, so you can change the text, colors, and images to fit your brand. And the best part? They’re all designed by professionals, so you know they’ll look good.
Choosing the Right Template
So, how do you choose the right template for your design? Well, it really depends on what you’re trying to achieve. If you’re creating a social media post, you’ll want to choose a template that’s optimized for the platform you’re using. For example, if you’re creating a post for Instagram, you’ll want to choose a template that’s square-shaped and has a minimum of 1080 x 1080 pixels.
On the other hand, if you’re creating a presentation, you’ll want to choose a template that’s more formal and professional-looking. Canva’s got a range of presentation templates that you can use, from simple and minimalist to more complex and detailed. Just remember to keep your design consistent throughout the presentation, and use images and graphics to break up the text.
Another thing to consider when choosing a template is your brand’s color scheme and typography. You want your design to look consistent with your brand’s overall aesthetic, so choose a template that matches your colors and font styles. Don’t worry if you don’t have a brand style guide – Canva’s got a range of pre-designed color palettes and font combinations that you can use.
Customizing Your Design
Once you’ve chosen your template, it’s time to start customizing your design. This is where the fun really begins – you can change the text, images, and graphics to fit your needs. Just click on the element you want to change, and use the toolbar to adjust the settings.
One of the things I love about Canva is that it’s got a range of drag-and-drop design elements that you can use to customize your template. These elements include things like icons, shapes, and graphics, and they’re all fully customizable. You can change the color, size, and style of each element to fit your design.
Another great feature of Canva is its photo editor. This allows you to edit your images directly within the platform, without having to use a separate photo editing software. You can adjust the brightness, contrast, and saturation of your images, as well as add filters and effects.
Adding Text and Graphics
So, how do you add text and graphics to your design? It’s really easy – just click on the text or graphics tab in the toolbar, and choose the option you want to use. Canva’s got a range of font styles and sizes that you can use, from simple and minimalist to more complex and decorative.
When it comes to adding graphics, you’ve got a range of options to choose from. You can use Canva’s pre-designed graphics, which include things like icons, shapes, and illustrations. Or, you can upload your own graphics – just click on the upload button, and choose the file you want to use.
One thing to keep in mind when adding text and graphics is the balance of your design. You don’t want your design to look too cluttered or busy, so make sure to leave some white space. This will help your design look clean and professional, and make it easier to read.
Using Colors and Fonts
Colors and fonts are a crucial part of any design – they can make or break the overall look and feel of your graphic. So, how do you choose the right colors and fonts for your design? Well, it really depends on your brand’s style and aesthetic.
When it comes to colors, you want to choose a palette that’s consistent with your brand’s overall color scheme. You can use Canva’s pre-designed color palettes, or create your own custom palette using the color wheel. Just remember to keep your colors consistent throughout your design – this will help create a cohesive look and feel.
Fonts are also important – you want to choose a font style that’s easy to read, and consistent with your brand’s overall typography. Canva’s got a range of font styles that you can use, from simple and minimalist to more complex and decorative. Just remember to keep your font sizes consistent throughout your design, and use headings and subheadings to break up the text.
Case Study: Creating a Social Media Graphic
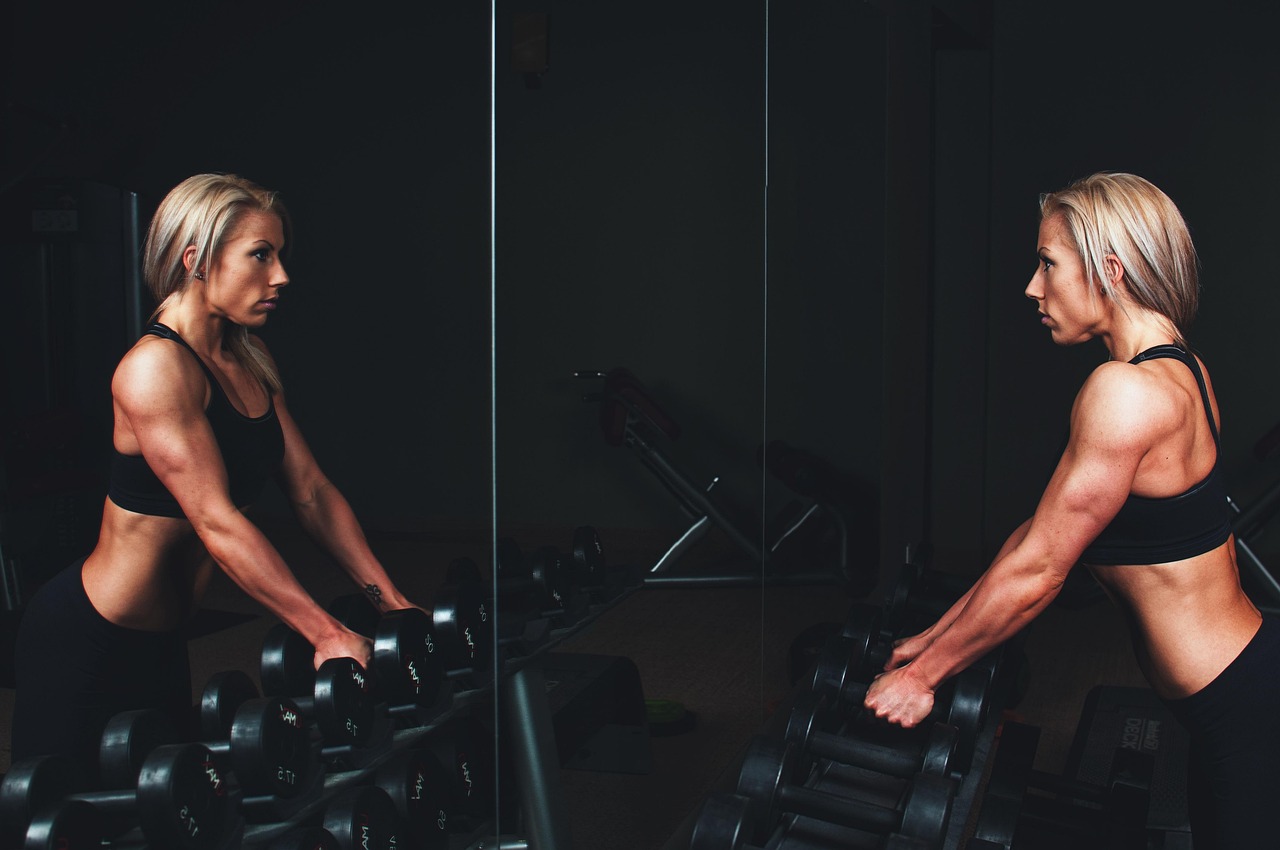
So, let’s put everything we’ve learned into practice – let’s create a social media graphic using Canva. For this example, let’s say we’re creating a graphic for a fitness business – we want to promote a new workout program, and encourage people to sign up.
First, we’ll choose a template – let’s go with a Facebook post template, since that’s where our target audience is most active. We’ll choose a template that’s got a bold and eye-catching design, with plenty of room for text and graphics.
Next, we’ll customize our design – we’ll change the background image to a photo of a person working out, and add some bold and colorful graphics to make the design pop. We’ll also add some text – a headline, a subheading, and a call-to-action – to encourage people to sign up for the workout program.
Final Tips and Tricks
So, what are some final tips and tricks for using Canva? Well, one thing I’d recommend is experimenting with different design elements and templates – don’t be afraid to try new things and see what works.
Another thing is to keep your design consistent – use the same colors, fonts, and graphics throughout your design to create a cohesive look and feel. And don’t forget to leave some white space – this will help your design look clean and professional, and make it easier to read.
Finally, don’t be discouraged if your design isn’t perfect at first – Canva is all about experimentation and learning as you go. Just have fun with it, and don’t be afraid to try new things. With practice and patience, you’ll be creating stunning visuals in no time.
So, to sum it all up – Canva is an amazing tool for creating stunning visuals, even if you have no design experience. With its intuitive interface, huge library of templates and design elements, and powerful editing tools, you can create professional-looking graphics in no time. Just remember to keep your design consistent, experiment with different elements, and have fun with it. Happy designing!


Leave a Reply